I’ve recently begun a journey into the world of making your own gear, or myog as it’s affectionately known and I am having a blast. Having not really sewn anything since high school, I’m loving the creativity and learning that comes with trying to make things out of scraps of fabric.
Over recent years I’ve interviewed several cottage makers about the gear they make and last summer I even visited the workshop of bikepacking bag makers Wizard Works. Add to this my own personal collection of bikepacking bags from a variety of makers (big and small) I think it’s safe to say I’ve got some pretty solid bikepacking bag experience under my belt. But does this translate into being able to make my own bags?
Keen to find out, I started off by having a sewing lesson from local bag maker, Black Box Machine, where Alex guided me through the process of designing and sewing a small wedge shaped frame bag. I learned a lot from this session and the myog fire was well and truly lit. Since then, I’ve played around with a few bits of fabric, made a few stuff sacks, ordered some specialist fabric from Monkey Puzzle Fabrics and decided that I was ready to try making a bag for a Wald 137 basket, a duffle bag, stove bags, messenger bag and many more. You can see many of my myog projects on my instagram page: @mattiejgould
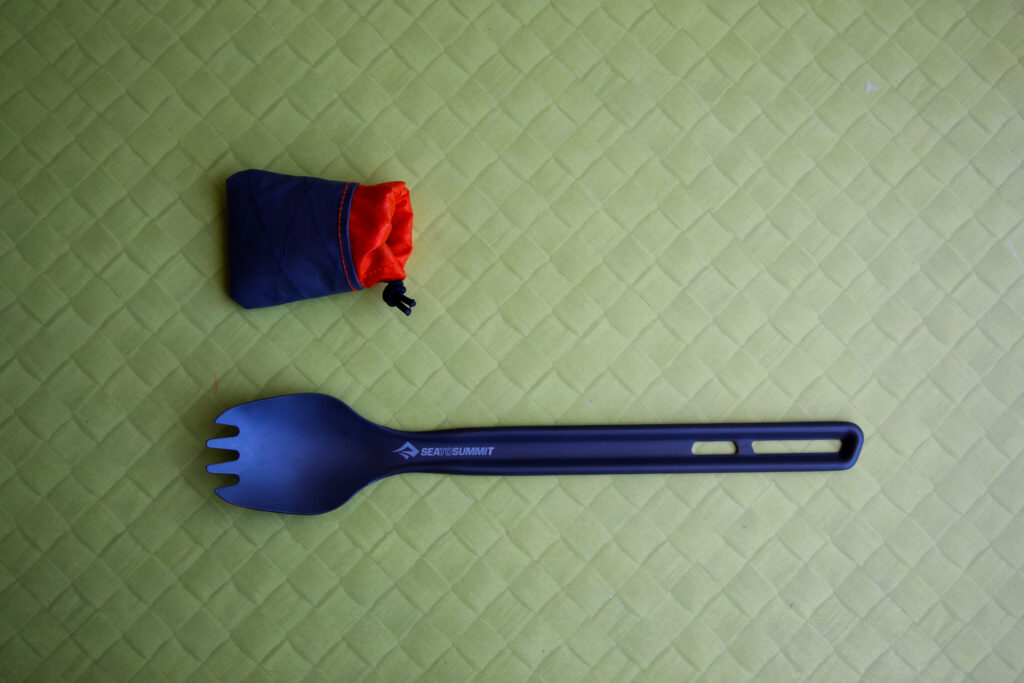
This time around I’m making a cosy cover for my spork: an myog spork cover. Following below are some instructions to make your own.
Making a Camping Spork Cover
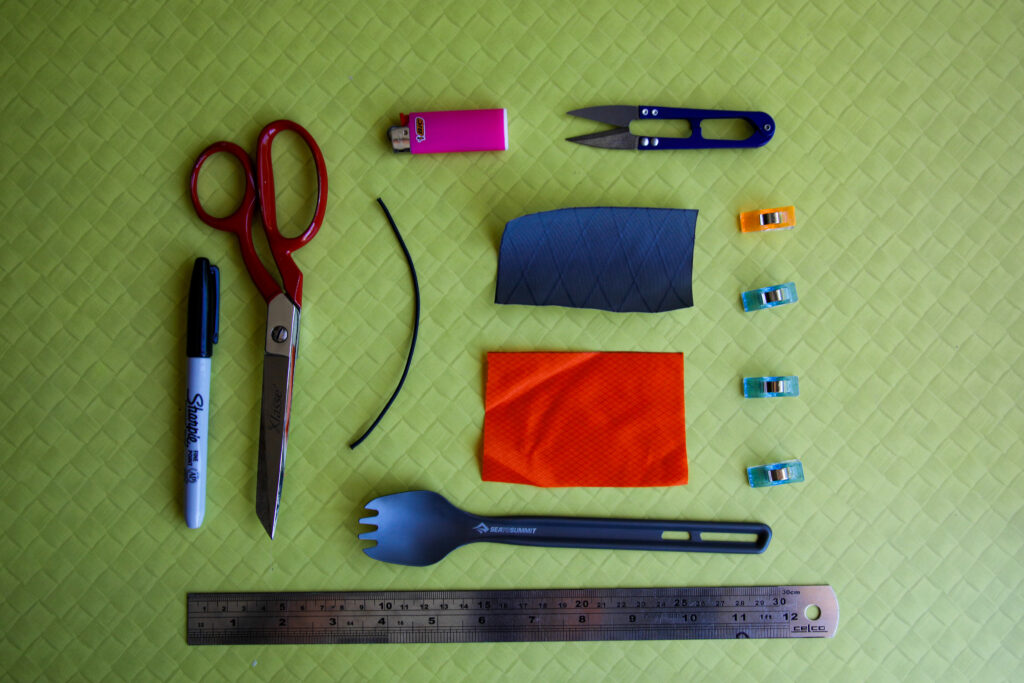
For the first version of this myog spork cover I used a very small fabric sample that was included in a recent Monkey Puzzle Fabrics order. The sample was a piece of Brick Red Ecopak EPX200 measuring about 10cm x 6cm. This was pretty much the perfect size for the spork cover. For this tutorial I used some Wolf Grey Ecopak EPX200 and Orange 50D Nylon Dobby PU.
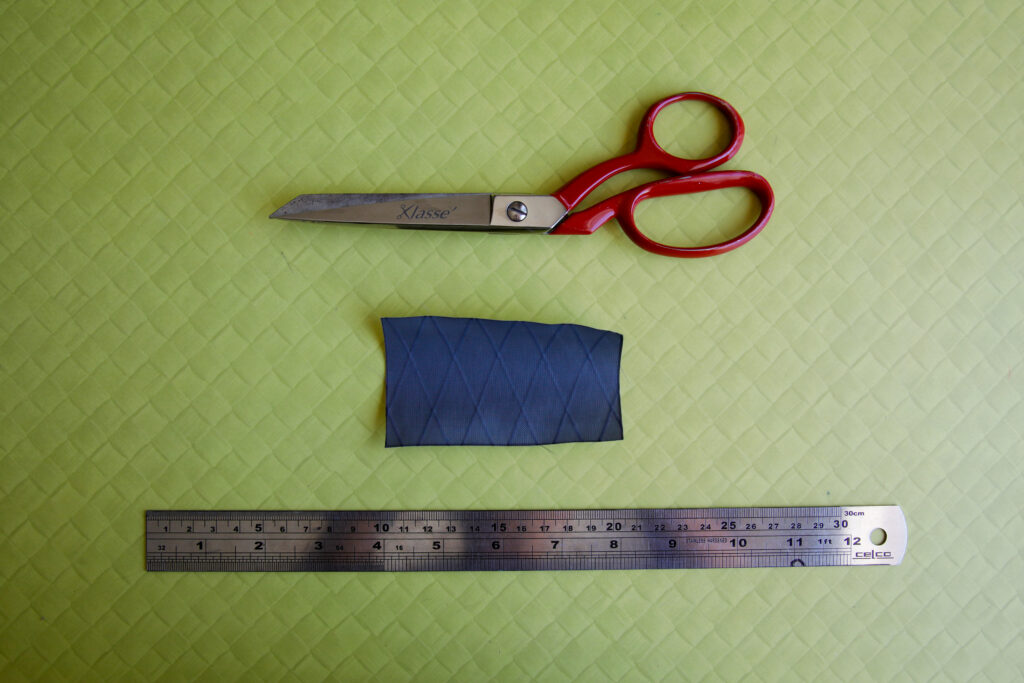
Step 1: pattern cutting
First, measure and cut out a rectangle of your chosen body fabric (in my case, Wolf Grey EPX200) measuring 10cm x 6cm. This allows for enough fabric to hem the exposed seams and includes seam allowance for when you stitch the cover together.
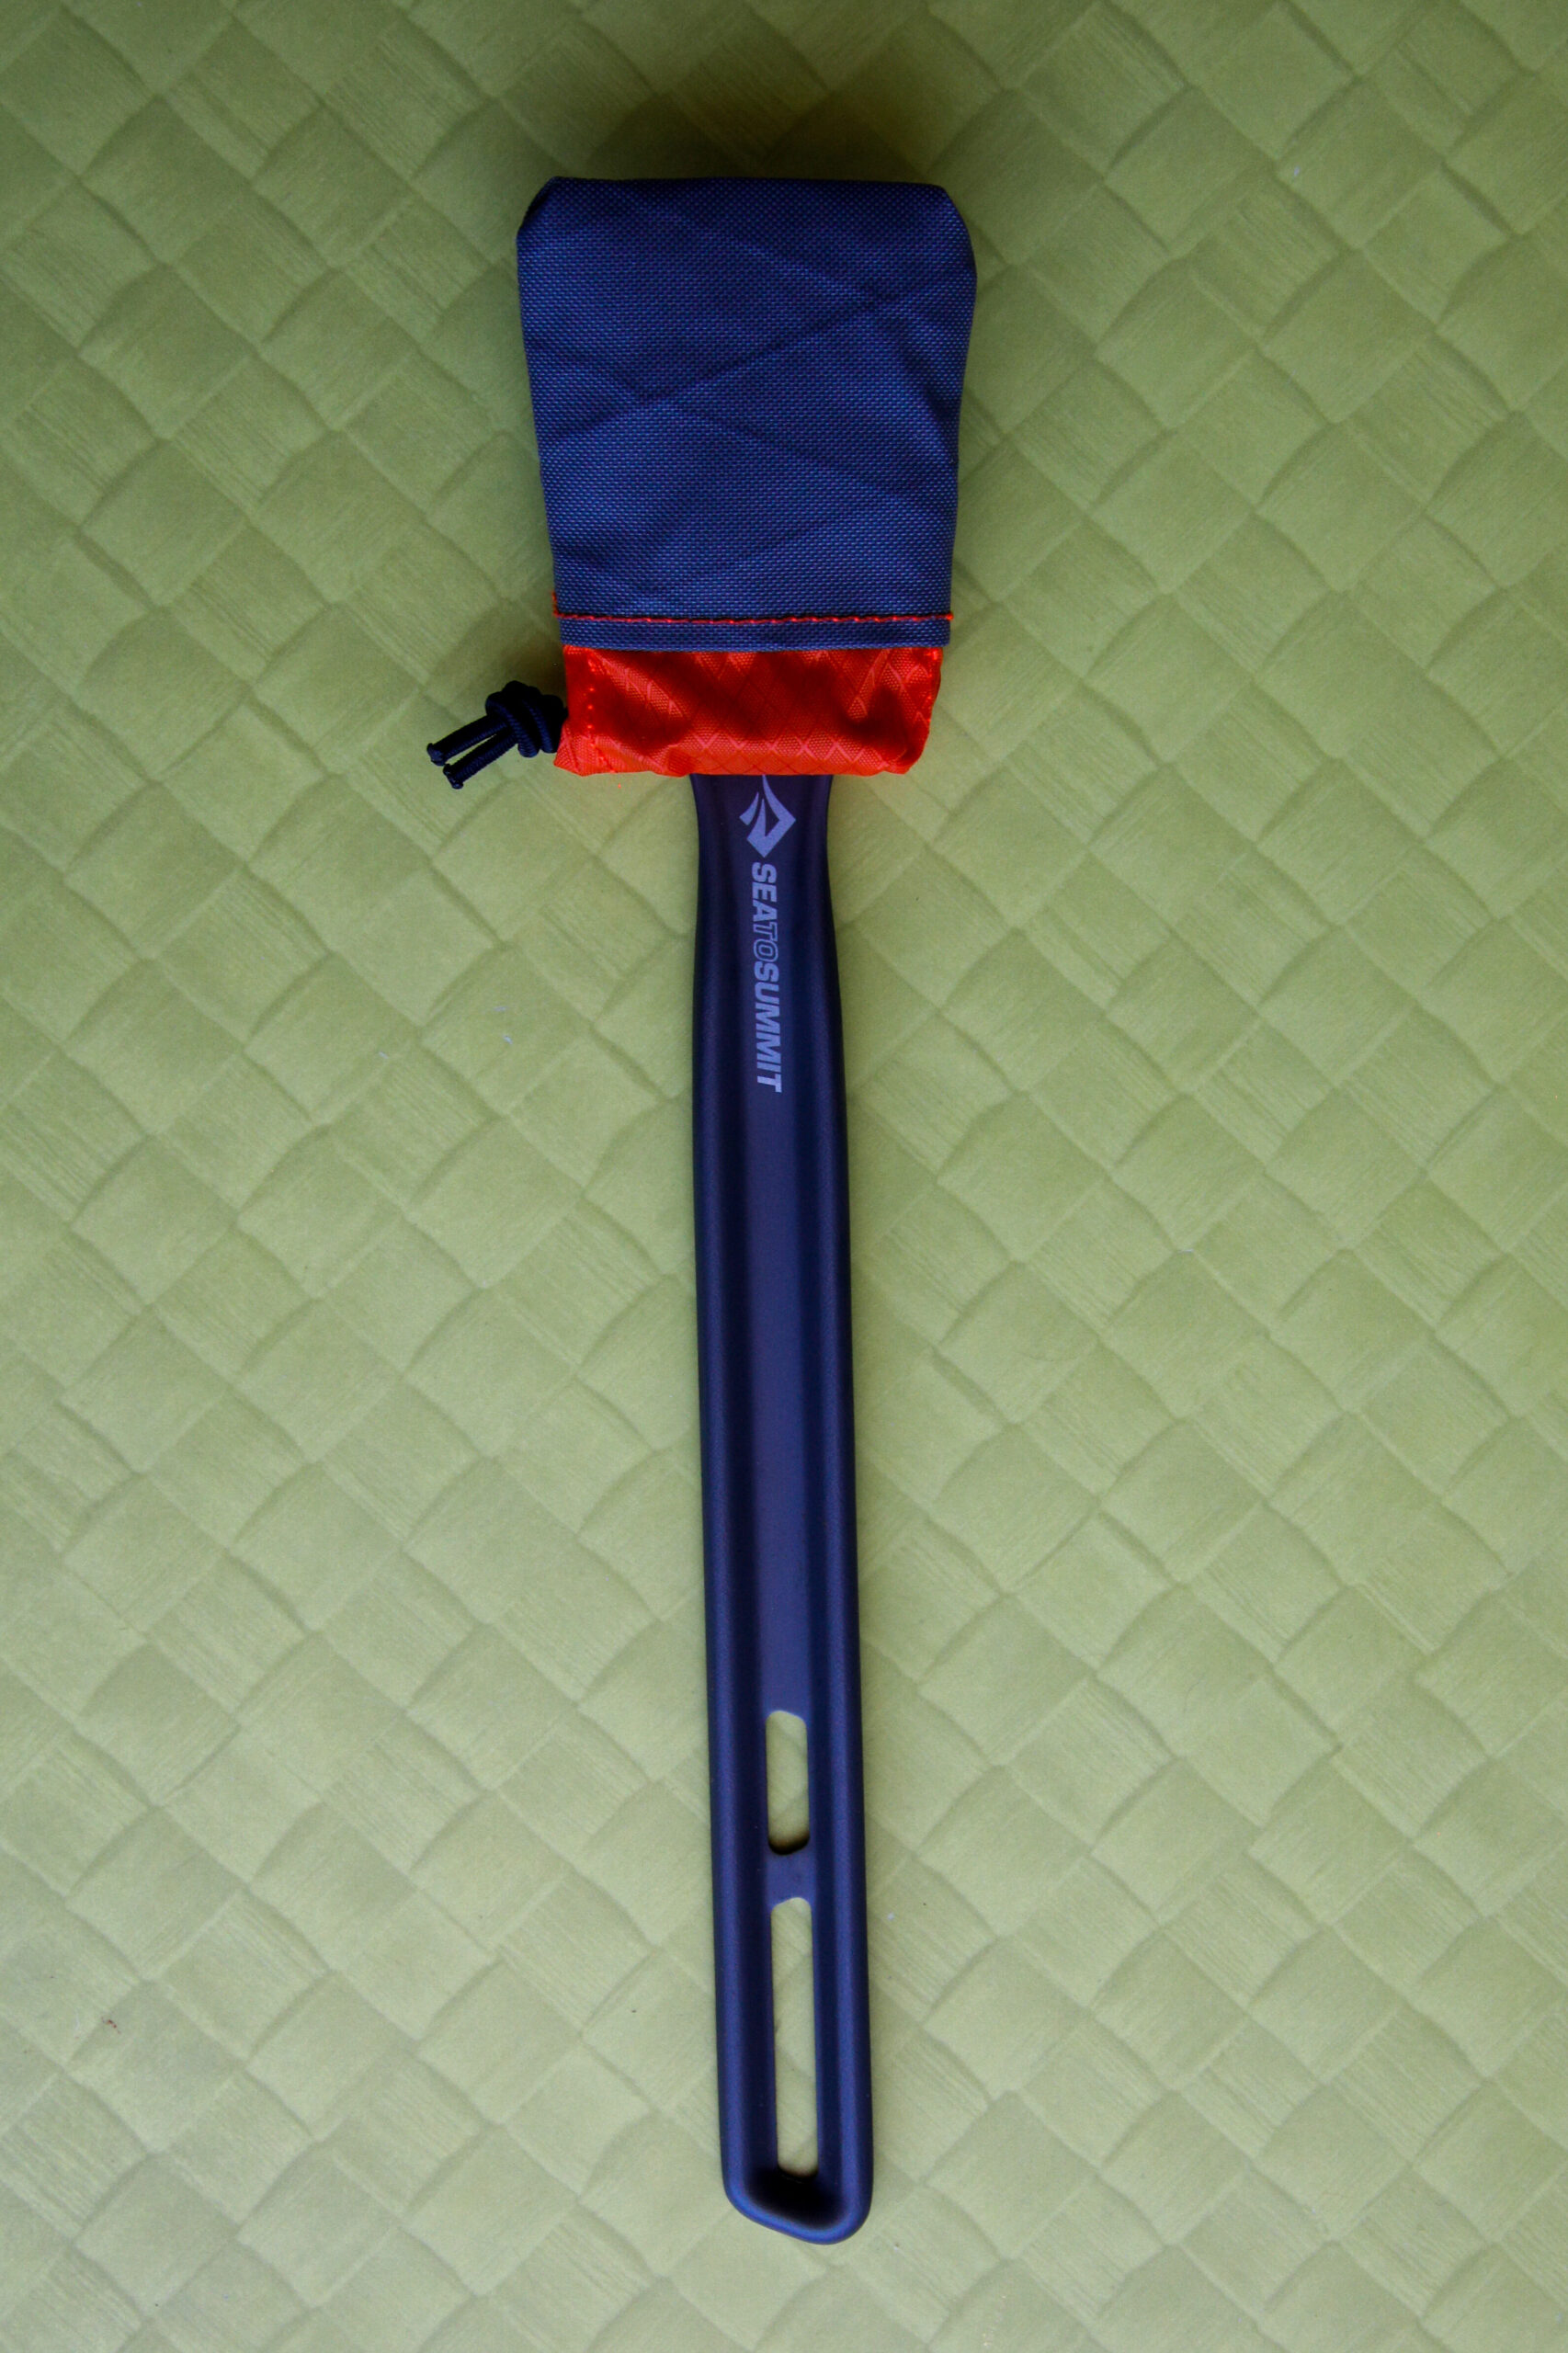
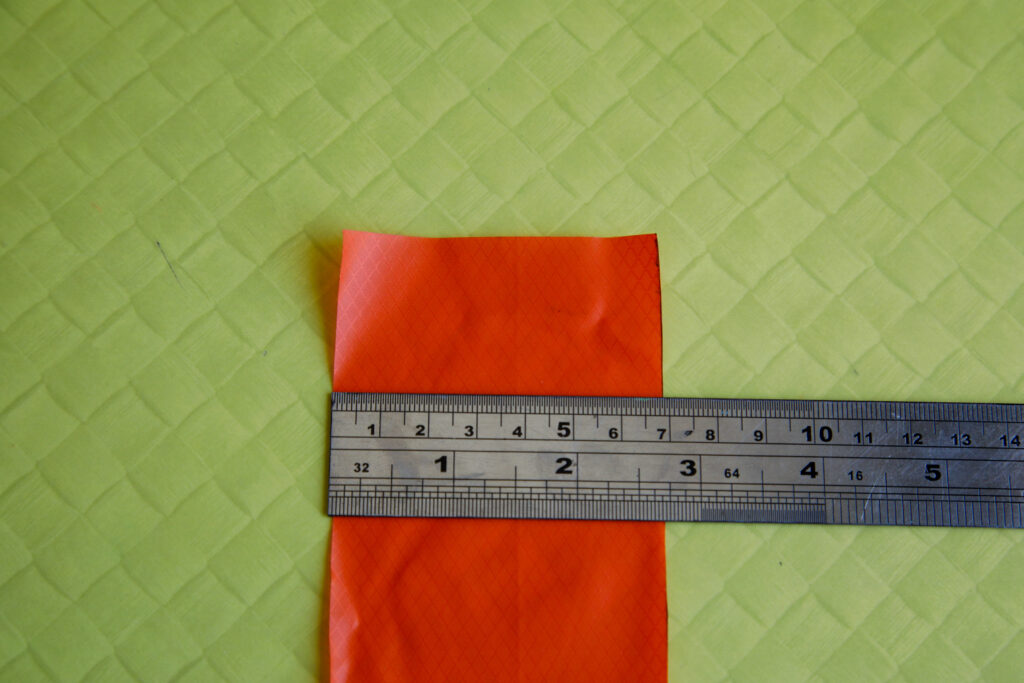
Second, measure and cut the fabric that will house the shock cord. This fabric needs be supple enough to draw inwards under the tension of the shock cord in order to properly house the spork head. I’m using some Orange 50D Nylon Dobby PU. This piece of fabric should measure 10cm x 7cm.
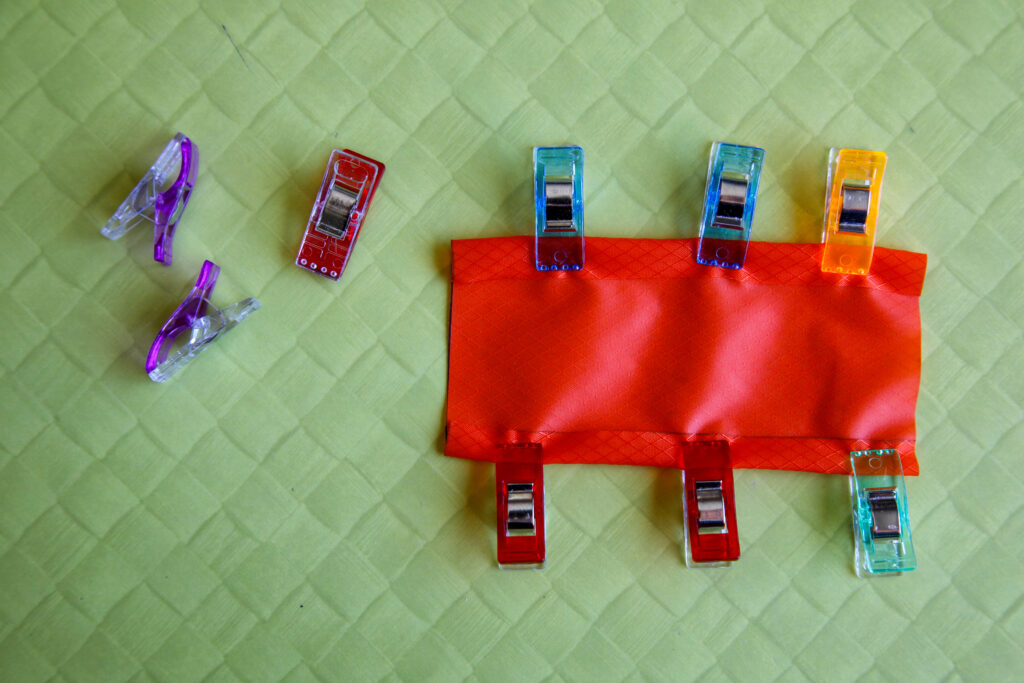
Step 2: edging the shock cord housing
Fold over the sides of shock cord housing fabric approx 1cm on each of the long sides and secure in place using pins or sewing clips. After edging, the width should be approx 5cm, so it’s worth measuring before you start sewing the edges.
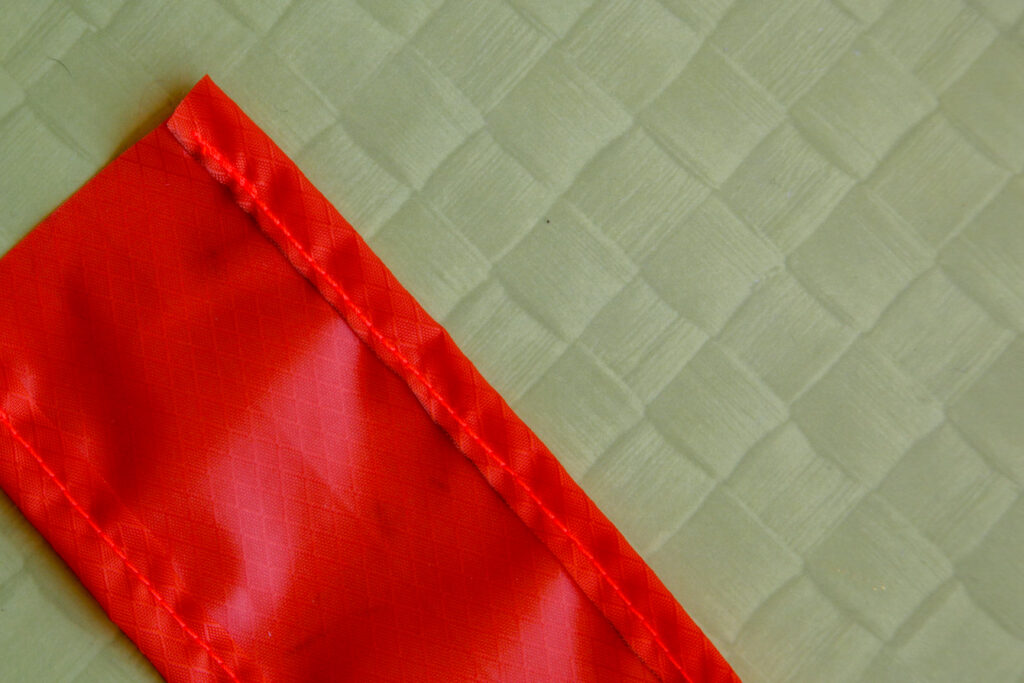
Using a straight stitch, sew along these edges – remember to add a backstitch at the start and end of the fabric.
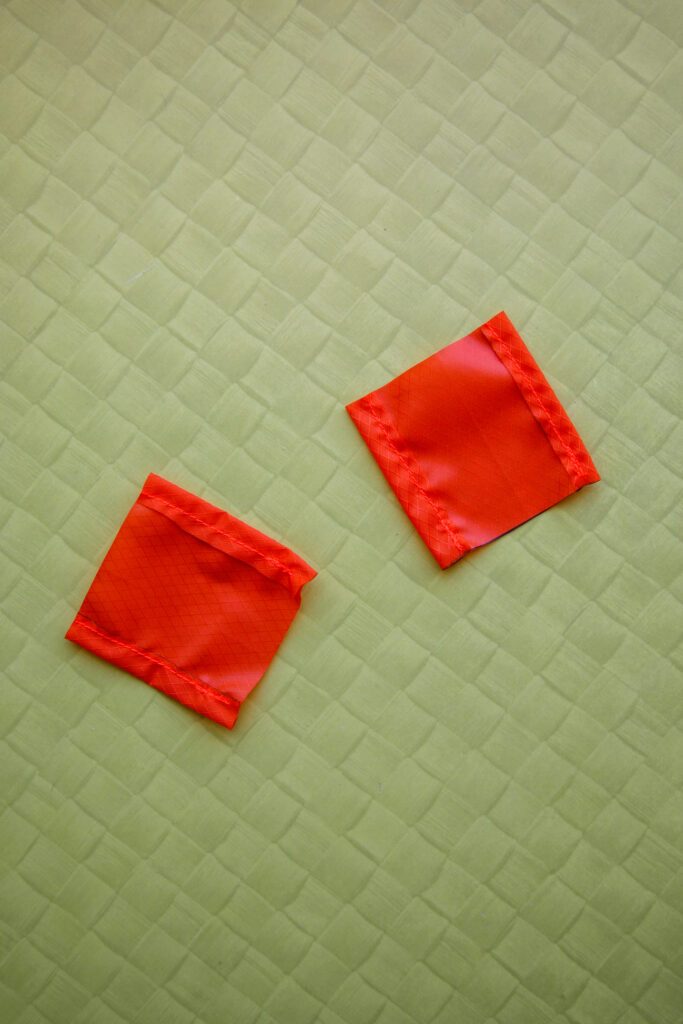
Fold this piece of fabric in half at the 5cm mark and then cut into two pieces. Each piece should measure 5cm x 5cm.
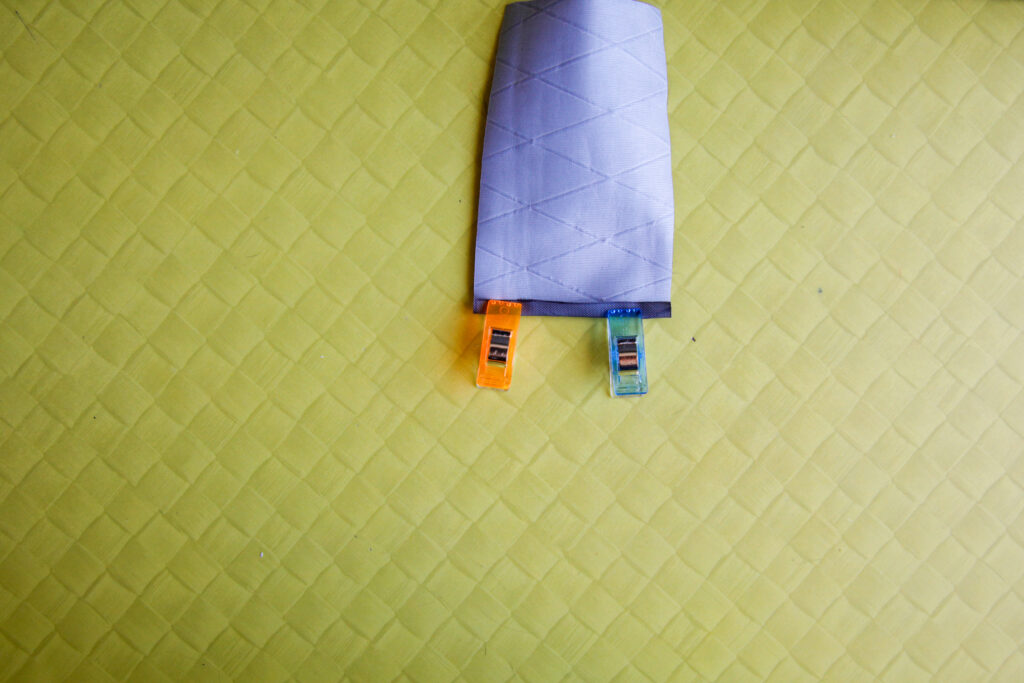
Step 3: attaching the shock cord housing to the body
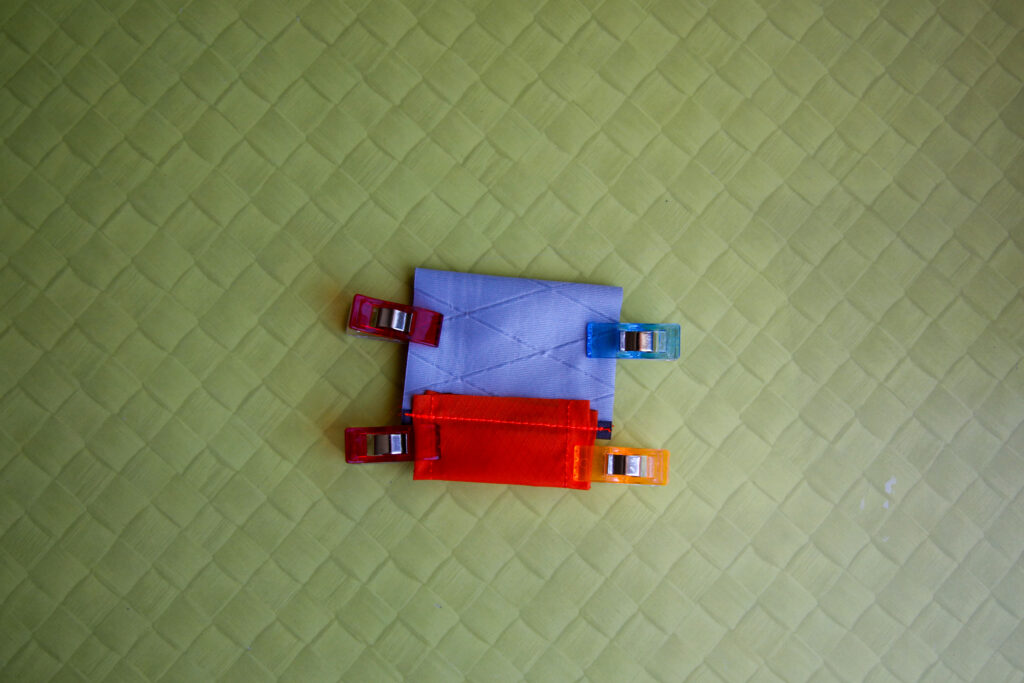
Fold a small edge (5mm) at either end of your main piece of fabric (Grey EXP200) and secure with sewing clips. Fold one piece of the edged shock cord housing in half so the edging is on either side. Place this piece of fabric on the inner edge of the grey fabric and secure in place using sewing clips.
Using a straight stitch, sew along the folded edge to secure the orange shock cord housing to the folded end of the grey body.
Repeat this process on the other end.
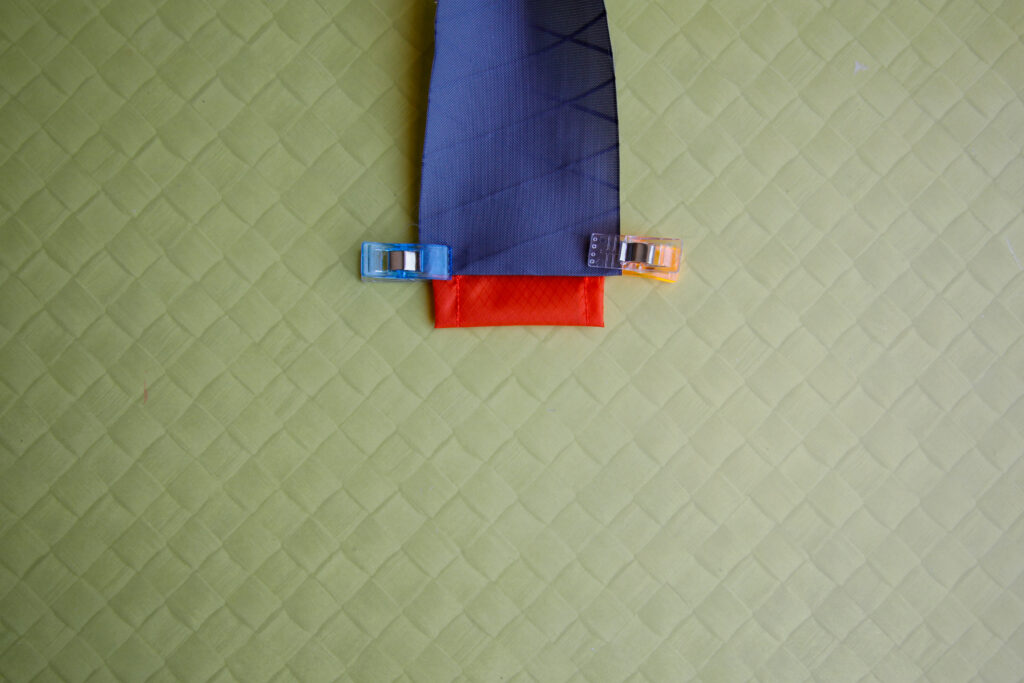
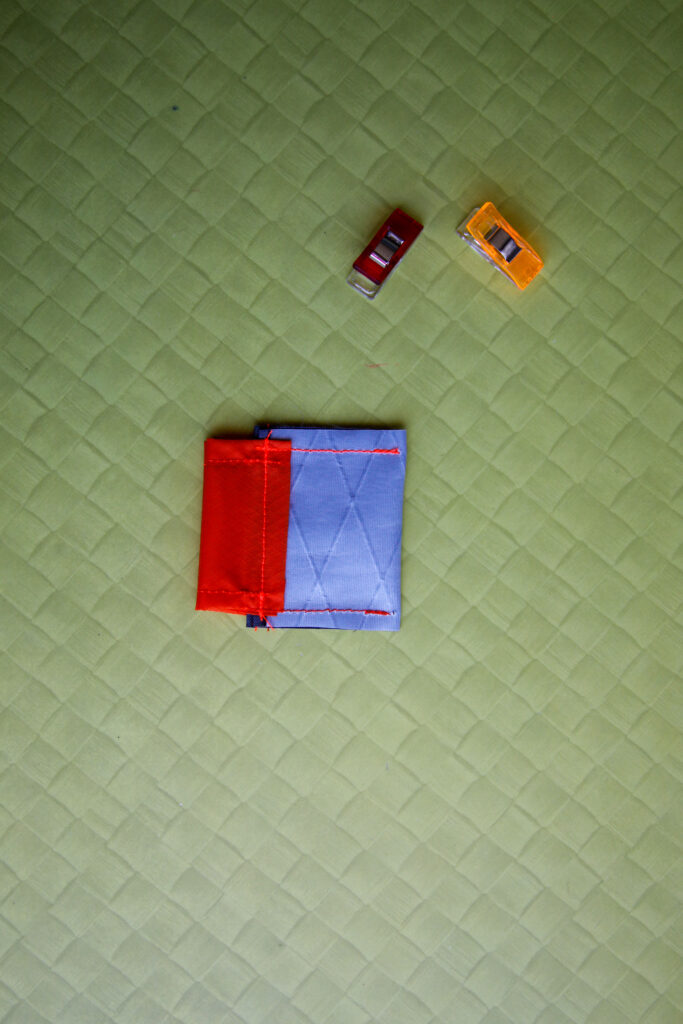
Step 4: sewing in the sides
Fold the grey fabric in half so the orange ends are touching. Make sure the grey outer of the fabric has been folded into the inside (because you are sewing the bag together inside out).
Once it is nicely aligned, sew the sides together to the end of the grey fabric.
Step 5: adding the shock cord
Cut approximately 10cm of stretch shock curd and singe the ends using a lighter so that it doesn’t fray.
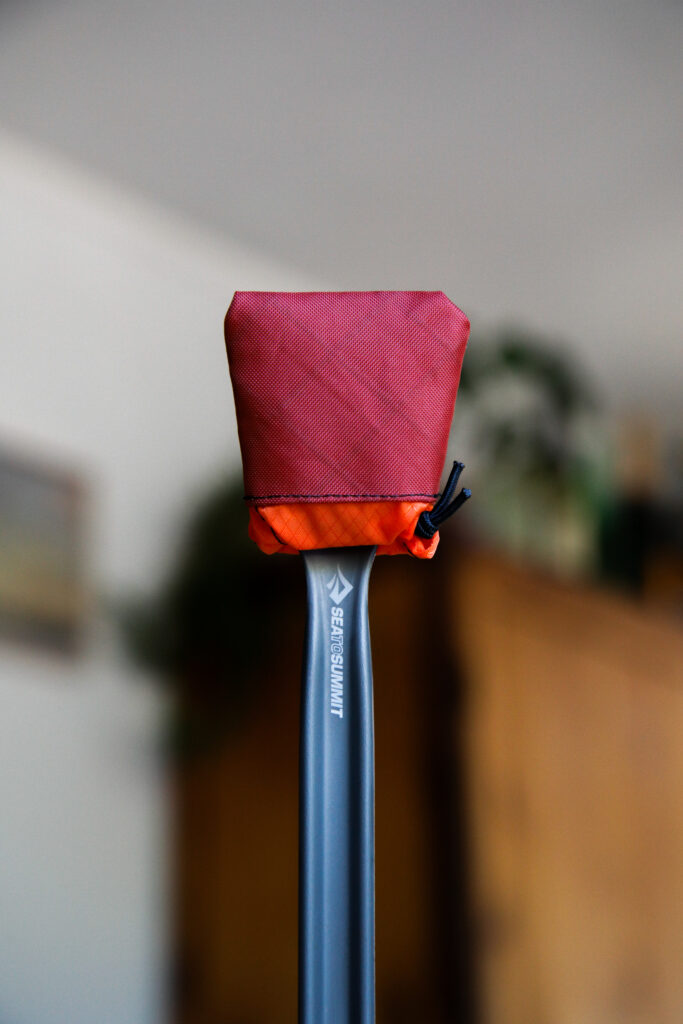
Thread the paracord through both sides of the orange fabric and tie together. When you tie the shock cord, you want to pull enough tension so that the orange fabric cinches together a little.
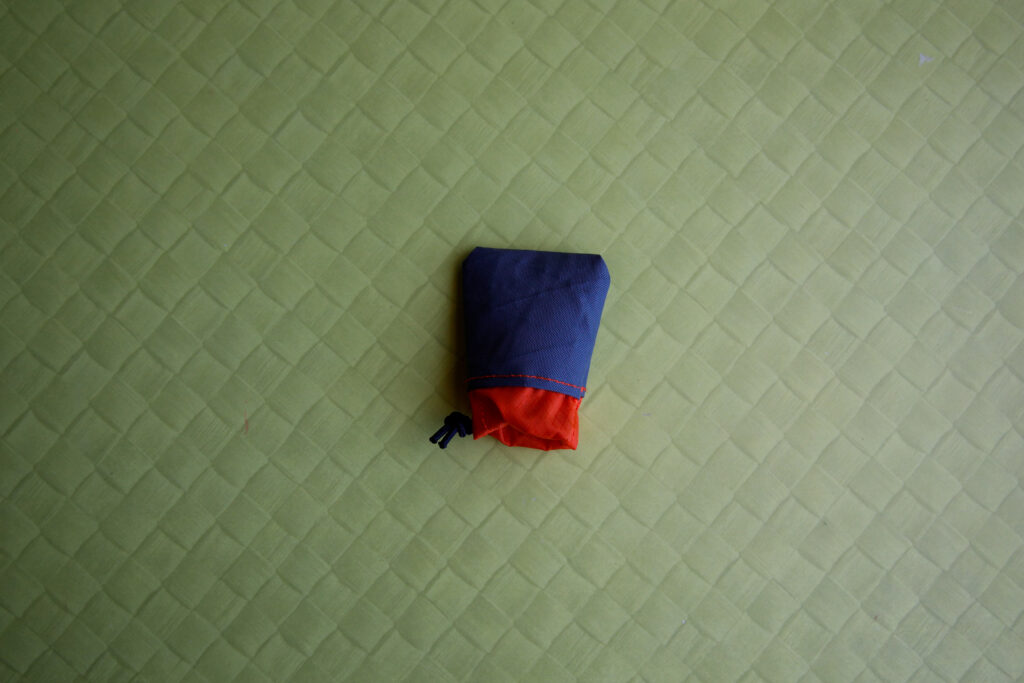
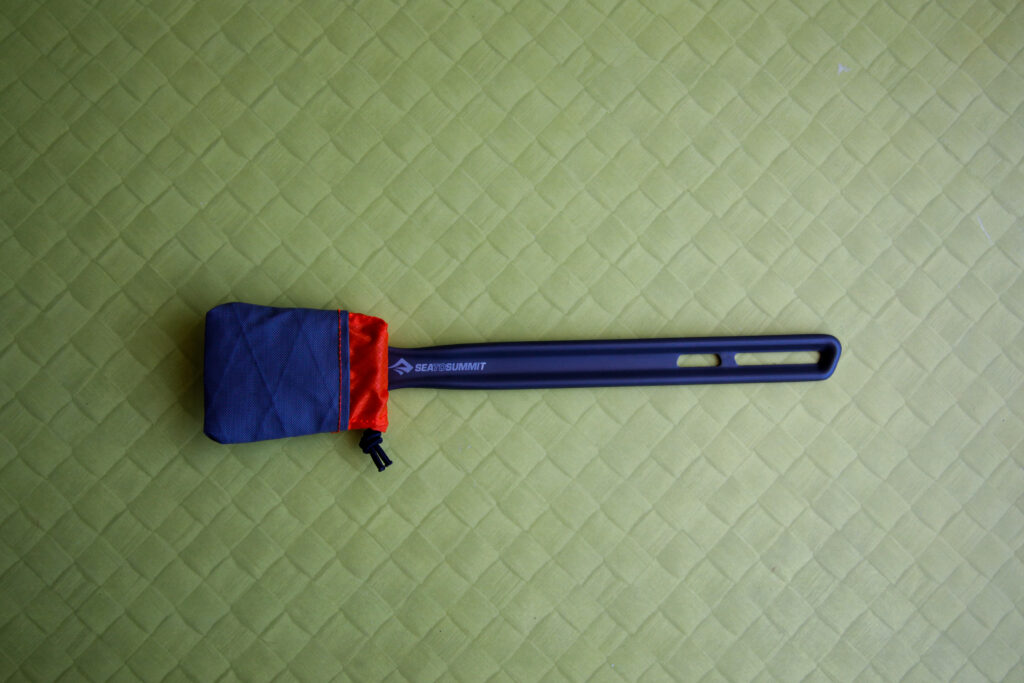
Step 6: finishing up
Turn your spork cover the right way out and test it out. You may need to re-tie the shock cord to get the right amount of tension. For a slightly fancier version you could use a cord lock instead of tying the shock cord.